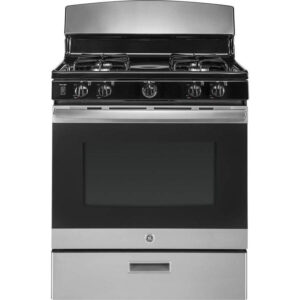
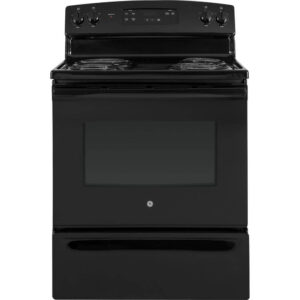
Imagine the disappointment of eagerly pulling out a casserole or baked good from the oven, only to find it undercooked and cold at the center. A malfunctioning oven can be a true mealtime nightmare, disrupting your cooking plans and leaving you frustrated. Whether you have an electric or gas oven, there are several common reasons why it may not be heating up properly, such as issues with the thermostat, heating elements, or control board.
Fortunately, with some troubleshooting and a bit of DIY know-how, you may be able to get your oven back in working order without the hefty cost of a professional repair. In this comprehensive guide, we’ll walk you through the most frequent causes of an oven that’s not heating up, along with step-by-step solutions you can try at home, including how to test oven temperature sensor and perform resistance testing with a multimeter. We’ll also advise when it’s best to call in the experts to ensure your appliance is safely and properly serviced.
Checking the Electrical Connection
One of the first things to inspect when your oven isn’t heating up is the electrical connection. An oven, whether gas or electric, requires a reliable power supply to function correctly. If the appliance is unplugged or the circuit breaker has tripped, it won’t be able to generate the necessary heat, leading to issues like underheating or temperature fluctuations.
Inspect the Circuit Breaker
Start by locating your home’s circuit breaker panel and identifying the breaker labeled “Oven.” If the switch is positioned halfway between “On” and “Off,” it means the breaker has tripped, likely due to a power surge or electrical overload. To reset it, simply flip the switch to the “Off” position, then back to “On.” This should restore power to your oven and allow it to heat up properly during preheating and cooking.
However, if the breaker trips again, it could indicate a more serious electrical issue, such as a problem with the oven’s control board. In this case, it’s best to contact a licensed electrician to diagnose and resolve the problem to prevent any safety hazards.
Check the Power Outlet
Another potential culprit is a malfunctioning power outlet. Examine the outlet your oven is plugged into for any signs of damage, such as discoloration, cracks, or a loose fit. If the outlet appears faulty, it’s wise to have an electrician replace it to ensure a secure and reliable connection for your oven and maintain proper temperature control.
Inspecting the Oven’s Heating Components
If the electrical connection checks out, the next step is to inspect the oven’s heating components, which are responsible for generating the heat necessary for cooking and baking. Issues with the bake element, broil element, or other heating elements can lead to underheating, overheating, or inconsistent temperature accuracy.
Examine the Heating Element (Electric Ovens)
In an electric oven, the heating element is the curved metal rod located at the bottom of the interior. When the oven is turned on, this element should glow red-hot, indicating that it’s functioning correctly.
To test the heating element, turn on the oven to 400°F and observe the element. If it doesn’t start glowing, the element may be faulty and in need of replacement. Refer to your owner’s manual for instructions on how to safely remove and replace the heating element. This is generally a DIY-friendly repair, but if you’re not comfortable with it, it’s best to call in a professional appliance technician.
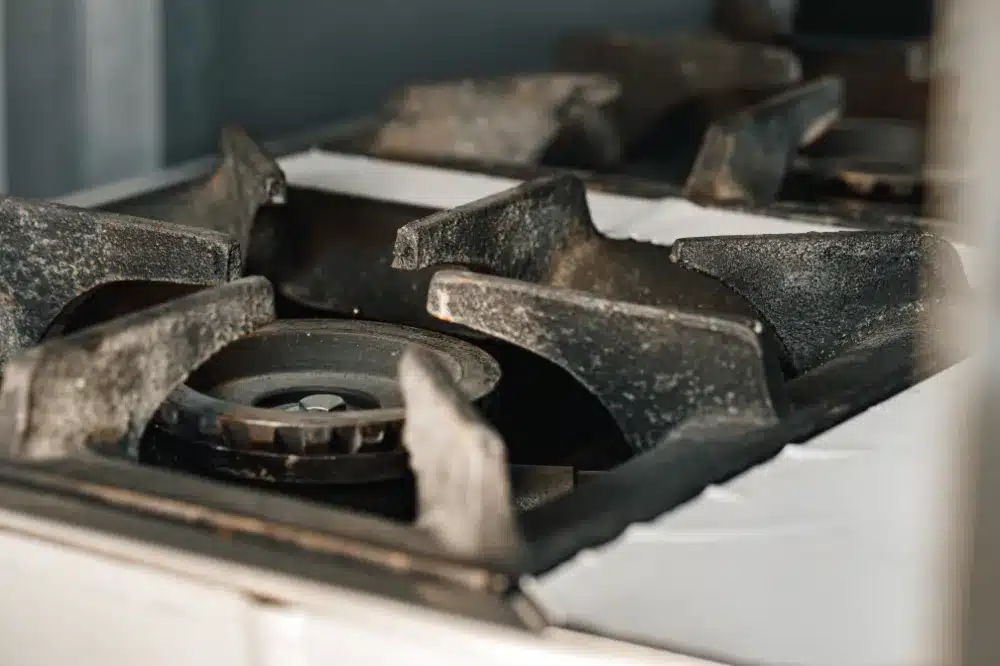
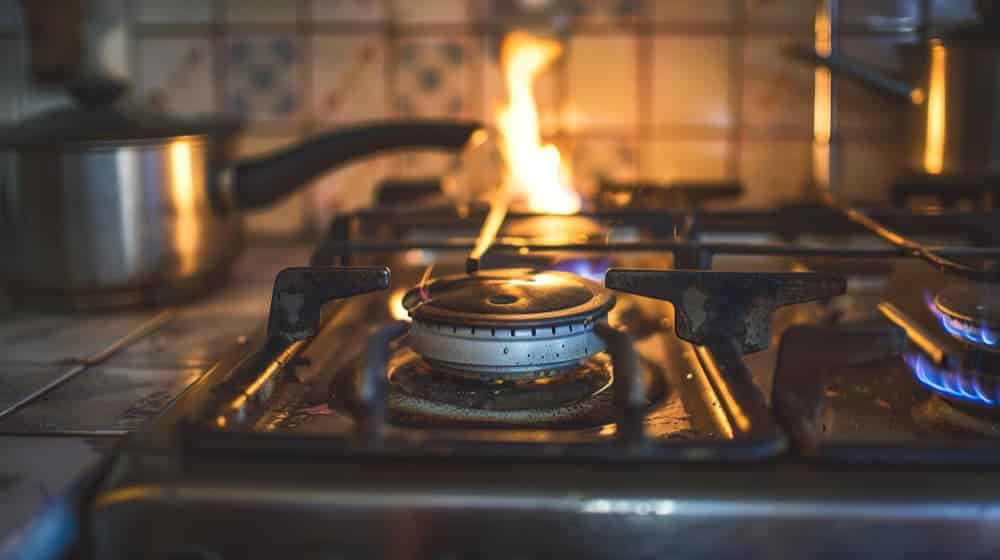
Check the Igniter (Gas Ovens)
For gas ovens, the igniter is the component responsible for igniting the gas burners that generate the heat. If the igniter is dirty or malfunctioning, the oven won’t be able to heat up properly, affecting its overall heating efficiency.
Locate the igniter, which is typically a metal module covered by a metal cage, either visible inside the oven or behind a removable panel. Use a toothbrush to gently clean any dirt or debris from the igniter, and use a sewing needle to unclog the pilot light hole. If the igniter still doesn’t seem to be working, it may need to be replaced by a qualified technician.
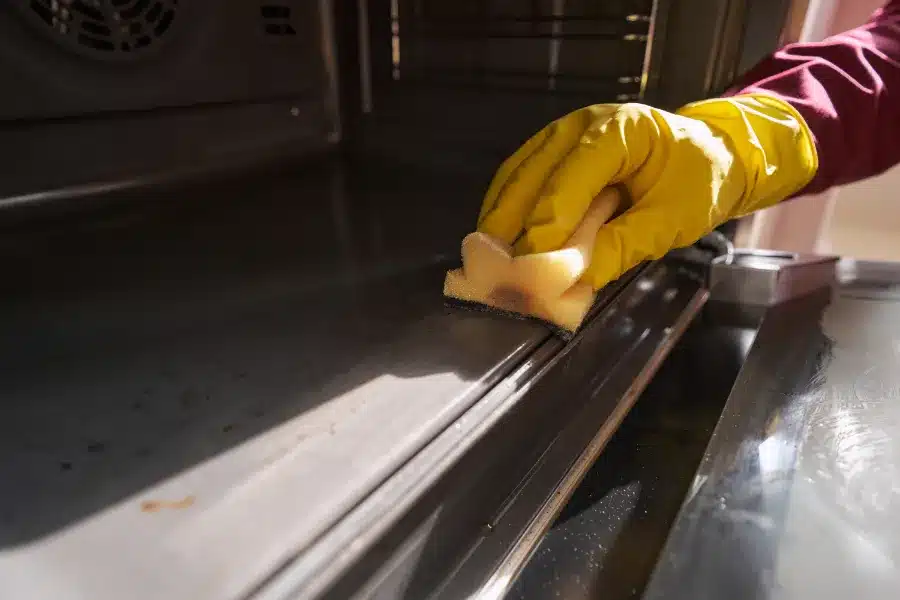
Ensuring a Proper Seal
A tight seal around the oven door is essential for maintaining the necessary heat inside the appliance. If the door isn’t closing properly or the seal is damaged, hot air can escape, preventing the oven from reaching the desired temperature and affecting its overall heating efficiency.
Check the Oven Door Seal
Inspect the rubber or silicone seal around the oven door for any cracks, tears, or signs of wear and tear. If the seal is compromised, it may need to be replaced. Refer to your owner’s manual for instructions on how to remove and install a new seal.
Verify the Door Latch
Some ovens, particularly those with a self-cleaning feature, have a door latch that locks the door during the cleaning cycle. If this latch is engaged when you’re trying to use the oven for regular cooking, it can prevent the door from closing tightly, leading to heat loss and temperature fluctuations.
Consult your owner’s manual to ensure the door latch is in the correct, unlocked position before attempting to use the oven.
Calibrating the Temperature Sensor
The oven temperature sensor, also known as the thermostat, is a crucial component that helps regulate the oven’s internal temperature. If the sensor is misaligned or malfunctioning, it can cause the oven to heat inconsistently or not reach the desired temperature, leading to issues like underheating or overheating. Common symptoms of bad oven temperature sensor include inaccurate temperatures, longer cooking times, and error codes like F3 error, F4 error, F8 code, F10 error, or F20 error.
Inspect the Temperature Sensor
To troubleshoot an oven temperature sensor not working, start by locating the sensor, typically a thin, tube-like component located at the back of the oven cavity (oven temperature sensor location). Gently check to see if the sensor has been bumped or shifted out of its proper position, causing it to touch the oven wall. If so, carefully bend the sensor back into its correct 90-degree angle to ensure accurate temperature readings.
If the sensor appears to be in the right place but the oven is still not heating properly, you may need to test oven temperature sensor using a multimeter to perform a continuity test or resistance testing. Consult your owner’s manual for the specific steps and expected resistance values for your oven model. If the sensor fails the test, it may be faulty and in need of oven temperature sensor replacement.
How to Replace Temperature Sensor in Oven
If you’ve determined that you need to replace oven temperature sensor, start by unplugging the oven or turning off the power at the circuit breaker for safety. Then, follow these general steps:
- Remove the back panel of the oven to access the sensor.
- Disconnect the wires from the old sensor and remove it from the oven.
- Install the new oven temperature sensor in the same location, ensuring it’s positioned correctly.
- Reconnect the wires to the new sensor.
- Replace the back panel and restore power to the oven.
For more detailed instructions specific to your oven model, consult your owner’s manual or a professional appliance repair guide. If you’re not comfortable performing the oven temperature sensor replacement yourself, it’s best to call in a qualified technician to handle the repair.
Addressing Digital Display Issues
If your oven has a digital control panel, it may display error codes that can provide valuable clues about the underlying problem. These codes are typically a combination of letters and numbers, and each one corresponds to a specific issue with the oven’s components or software, such as the control board, temperature probe, or thermostat.
Decipher Error Codes
Consult your owner’s manual to understand the meaning of any error codes displayed on your oven’s digital interface, such as F3 error, F4 error, F8 code, F10 error, or F20 error. The manual should provide a detailed explanation of the code and the steps you can take to troubleshoot and resolve the issue, which may involve temperature calibration, replacing the control board, or adjusting the temperature offset.
Common error codes may indicate problems with the oven’s control board, touchpad, or other electronic components. While some of these issues may be DIY-friendly, it’s generally advisable to have a professional technician handle any repairs involving the oven’s electronic systems to ensure safety and proper functionality. In some cases, you may need to access the oven’s diagnostic mode to further troubleshoot the problem.
Considering a Replacement or Repair
If the above troubleshooting steps don’t resolve the issue with your oven not heating up, it may be time to consider either a repair or a replacement, depending on the age and condition of your appliance.
Weigh the Cost of Repair
Oven repairs can range from $150 to $350 or more, depending on the specific problem and the parts required, such as the control board, heating elements, or temperature sensing bulb. If your oven is relatively new and the repair cost is reasonable, it may be worth investing in a fix. However, if the oven is older or the repair cost is high, it may be more cost-effective to replace the appliance.
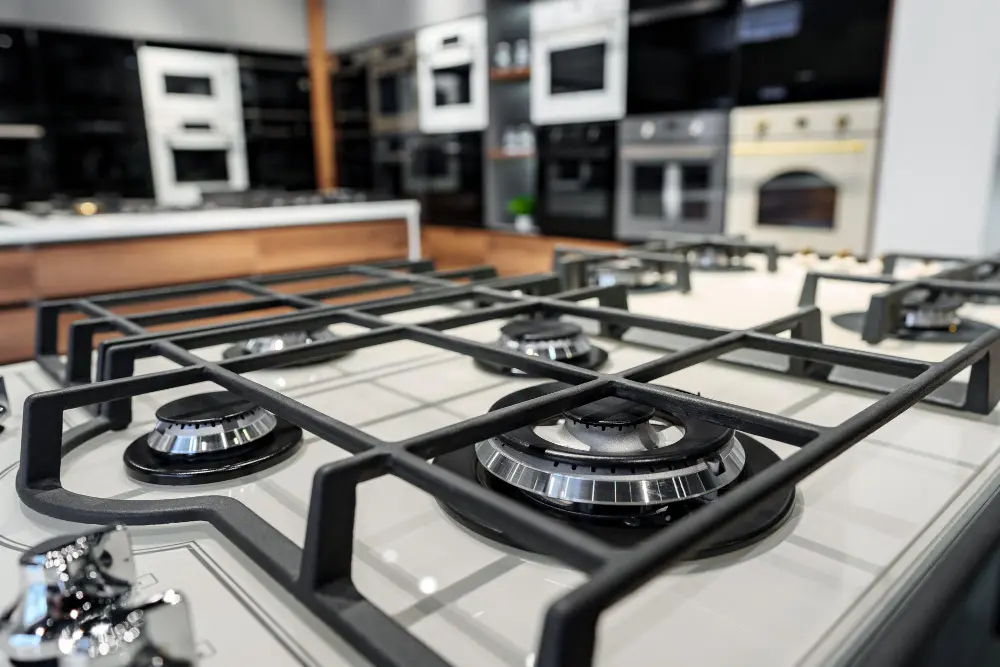
Explore Replacement Options
When it comes time to replace your oven, consider the features and capabilities that are important to you. Look for models with energy-efficient technology, user-friendly controls, and any additional features that align with your cooking and baking needs.
If you’re not ready to commit to a full oven replacement, you may also have the option to rent or lease an oven through a company like A&A Appliance Leasing. This can be a convenient and cost-effective solution, especially for those in temporary living situations or with limited budgets.
Conclusion
A malfunctioning oven can be a frustrating and disruptive problem, but with the right troubleshooting steps and a bit of DIY know-how, you may be able to get your appliance back in working order. By carefully inspecting the electrical connection, heating components, door seal, and oven temperature sensor, you can identify and address the root cause of the issue, whether it’s a faulty thermostat, a malfunctioning control board, or a problem with the heating elements.Remember, if you ever feel uncomfortable or unsure about any of the repair steps, such as how to fix oven temperature sensor or how to test oven temperature sensor, it’s always best to call in a professional appliance technician. Their expertise and experience can ensure your oven is safely and properly serviced, allowing you to get back to creating delicious meals and baked goods with confidence.